LDARC(旧KingKongブランド)から出た85mmWhoop、ET85が届きましたのでレビューしていきたいと思います。以前は Tiny GTシリーズが好評でしたが今回はブラシレス機として登場です。
なお今回はBanggood様よりレビュー機としてご提供いただきました。この場をお借りして御礼申し上げます。
スペック
まずは製品スペックを見てみましょう。
この機種は2タイプあります。ノーマルバージョンと、HDバージョンです。HDバージョンは Caddx Turtle V2 を搭載しています。またレシーバーも有り/無しが選択できます。なお今回のレビュー機はノーマルバージョンです。
Brand Name: LDARC
Model: ET85-FPV
Item Name: 87.6mm F4 OSD 4S FPV Racing Drone PNP BNF
Version: PNP ( Without Receiver) ; BNF ( With AC2000 Receiver)
Drone Wheelbase: 87.6mm
Weight: 58.7g ( without battery)
フレームがダクト一体構造の2インチ機となっており、FCはF4のWhoopタイプで12AのESCを搭載しています。
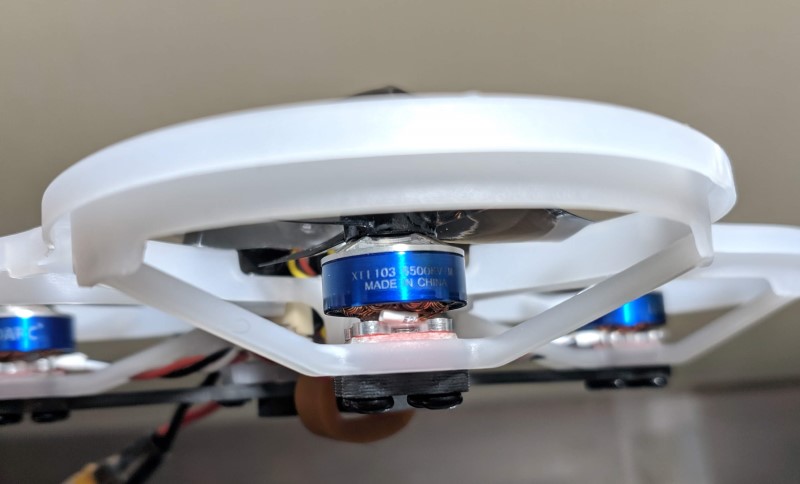
モーターは1103の6500KVで4Sまで対応しています。ちゃんと4Sバッテリーが付属していますw
VTXはダイヤモンドタイプで200mwまで。
レシーバーはAC2000というFutabaとFrSkyに対応した物が選択できます。
全スペックを見るにはここをクリック
| F4 OSD Flight Controller |
Brand Name: LDARC Firmware: MATEKF411 MCU: STM32F4AA MPU: MPU6000 BEC: 5V 1.5A Onboard Current Sensor Onboard ESC Support SBUS DSM2/X iBUS Receiver |
| Onboard 12A BLheli_S ( G_H_30) 4in1 ESC |
Con. Current: 12A Max. Current: 20A Support 2-4S Lipo Firmware: BLheli_S |
| Onboard AC2000 Receiver ( Only BNF Version has) |
Item Name: AC2000 Receiver
Rated voltage: 4.0V~6.0V
Support S-FHSS(8 CHs)/D16 non-EU(14 CHs)/D16 EU-LBT(14 CHs) three modes, output S.BUS signal
Perfect fit high reliability medium and small size drone
The channel 16 of S.BUS value is real-time RSSI, BETAFLIGHT OSD can display this RSSI value in screen.
|
| 48CH 0/25/100/200mW VTX |
Brand Name: LDARC Channel: 40CH Power: 0/25/100/200mW Switchable Input Votlage: 2-4S Support IRC Tramp |
| 51mm 3-Blade Propeller |
Brand Name: LDARC Item Name: 51mm 3-Blade Propeller Color: Black Quantity: 10 CW & 10 CCW |
| XT1103 6500KV Motor |
Brand Name: LDARC Model: XT1103 Item Name: 1103 6500KV Shaft Diameter: 1.5mm Input Voltage: 3-4S Motor Mounting Hole Size: 9 ( M2) Weight: 4.2g |
| Runcam Nano 2 Camera |
Brand name: Runcam
Model: Nano 2
Image Sensor: 1/3″ CMOS
Horizontal Resolution: 700TVL
Lens: 2.1mm(M8) FOV 155°
Signal System: NTSC / PAL
S/N Ratio: >50dB
Electronic Shutter Speed: Auto
Auto Gain Control (AGC): Auto
Min. Illumination: 0.01Lux@1.2F
D-WDR: Auto
Day/Night: Color
Power: DC 3-5.5V
Current : 110mA@5V 120mA@3.3V
Housing Material: ABS
Net Weight: 3.2g
Dimensions: L14mm*W14mm*H16mm
|
| Lipo Battery ( All Version Have) | 4S 14.8V 430mAh 80C Lipo Battery |
Unbox
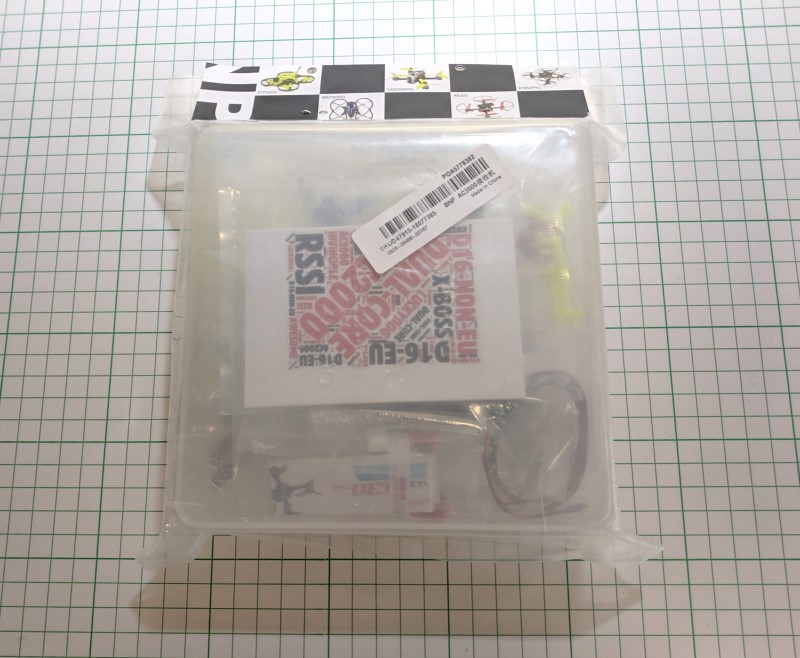
開封前はこんな感じで梱包袋に入って届きました。
ビニール袋から出すとこんな感じ。
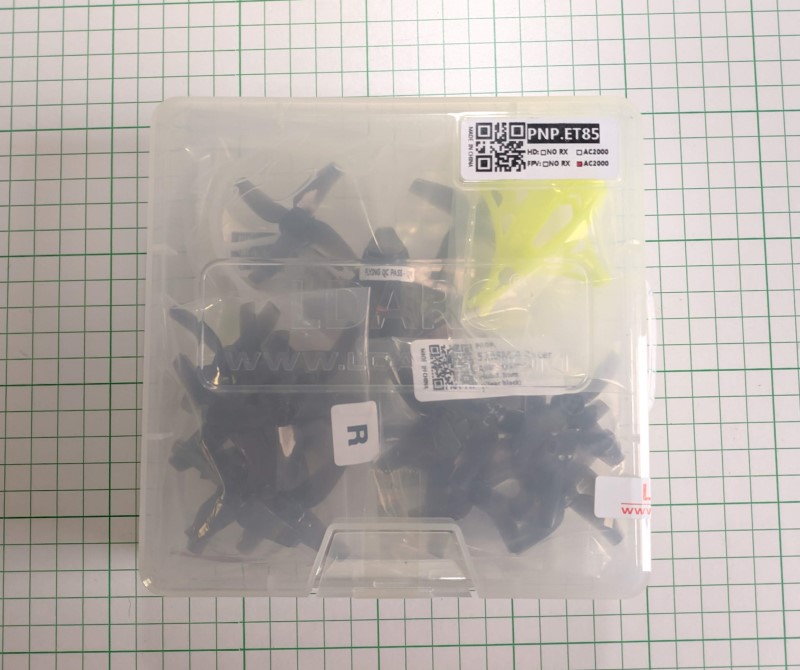
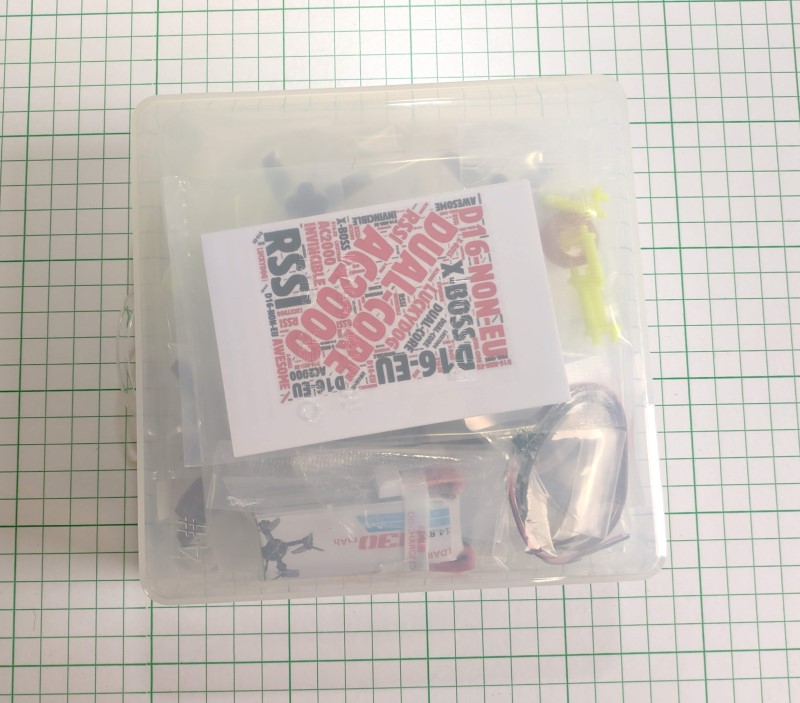
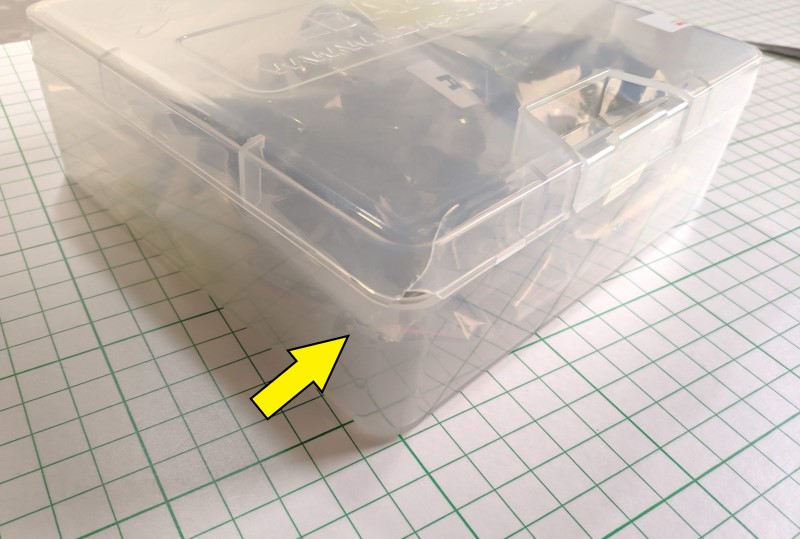
おや?プラスチックケースの角が欠けていました。まあ支障が無いので気にしないことに・・・w
全部取り出してみました。
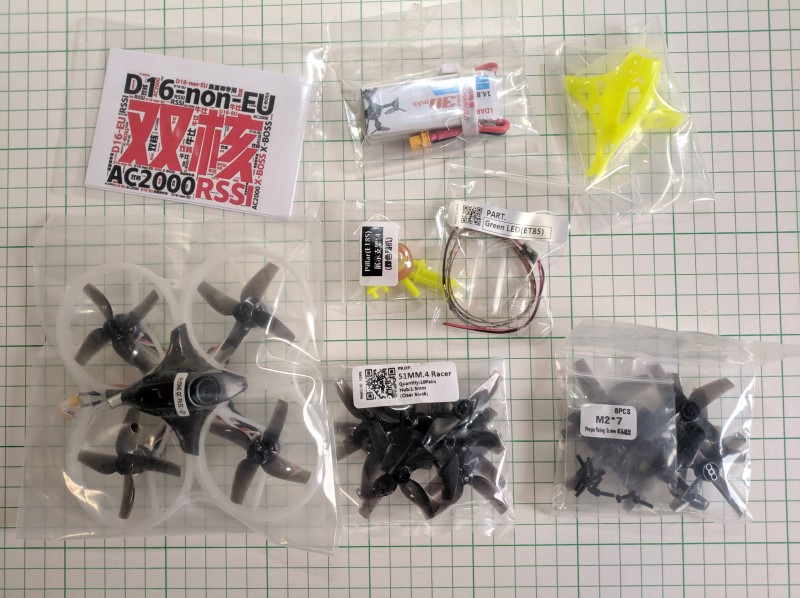
英語と中国語のマニュアル、機体、4S 430mAhバッテリー1個、その左下はLEDストリップ、予備のキャノピーとバッテリーを止める太いゴムバンド、ネジ、さらに4枚羽根のプロペラが左右10個ずつ。黄色い部品は機体のディスプレー用のパーツ。

あれ?ディスプレー用の台座が無い?製品ページを確認すると右上にあります。あ、別梱包になっているようですね。そんなの入って無かったし・・・これはかなりの確率で出荷時に入れ忘れそうな気がする。
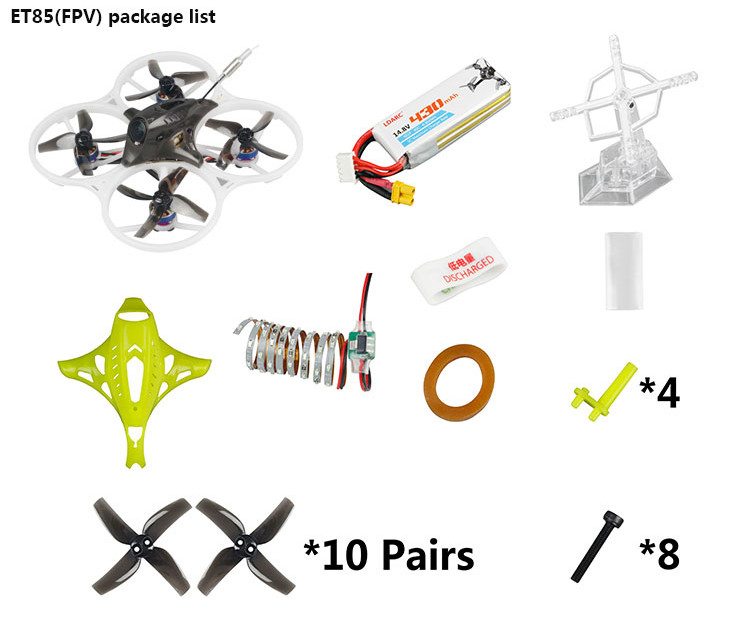
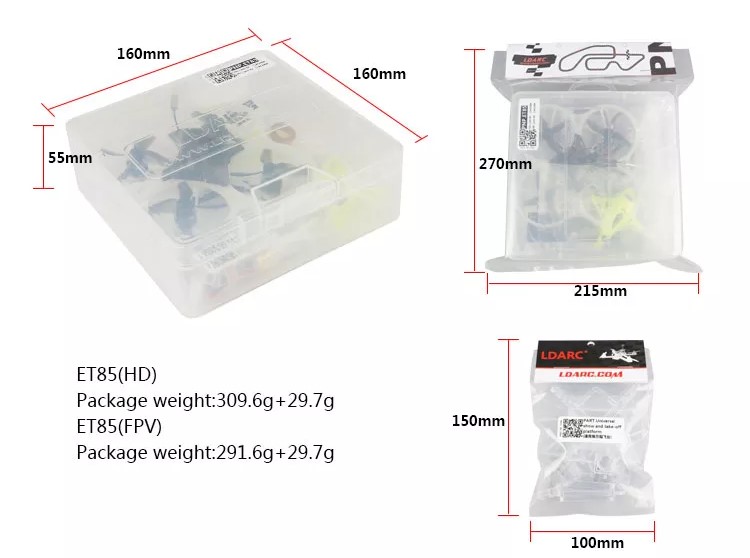
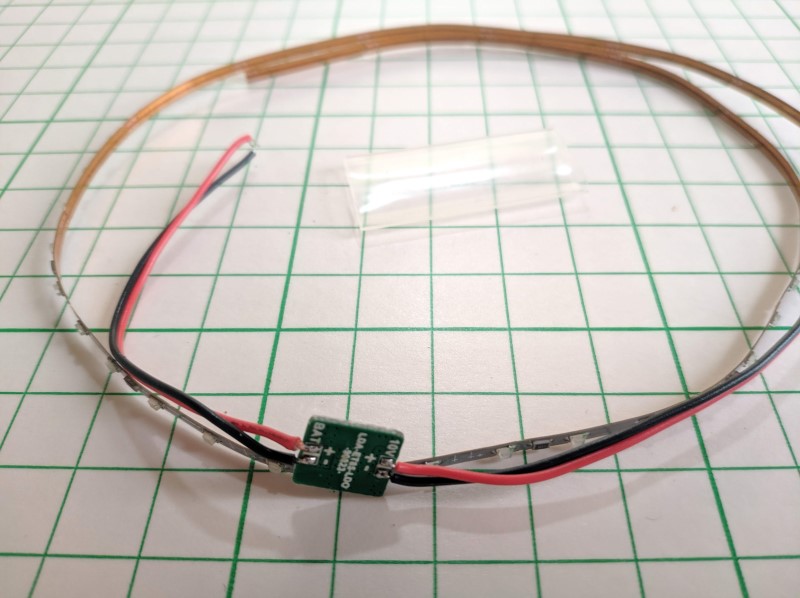
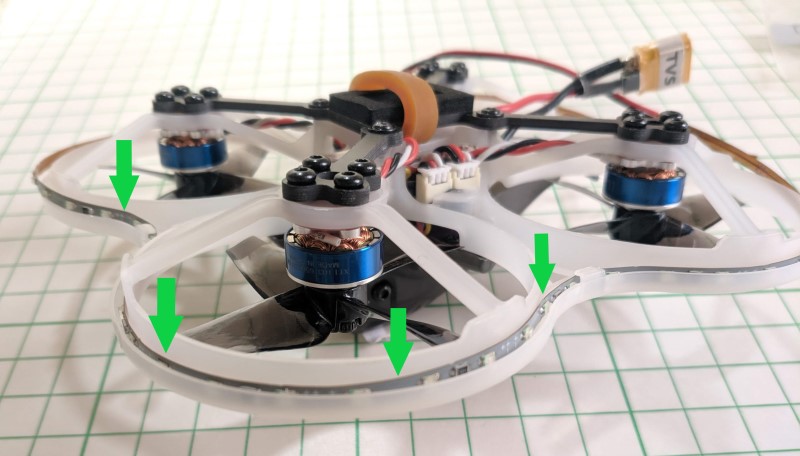
気を取り直して同梱品をもう少し見てみます。これはLEDストリップ。長さが30cm以上あります。機体のダクトの周りにぐるっと全周に渡ってはめ込むことができます。ただし自分でやってくださいね。という感じで同梱されていました。
実際に機体にはめ込んでみるとこんな感じ。ダクトの外周が2重構造になっているのでその中にはめ込むようになっています。(緑矢印)
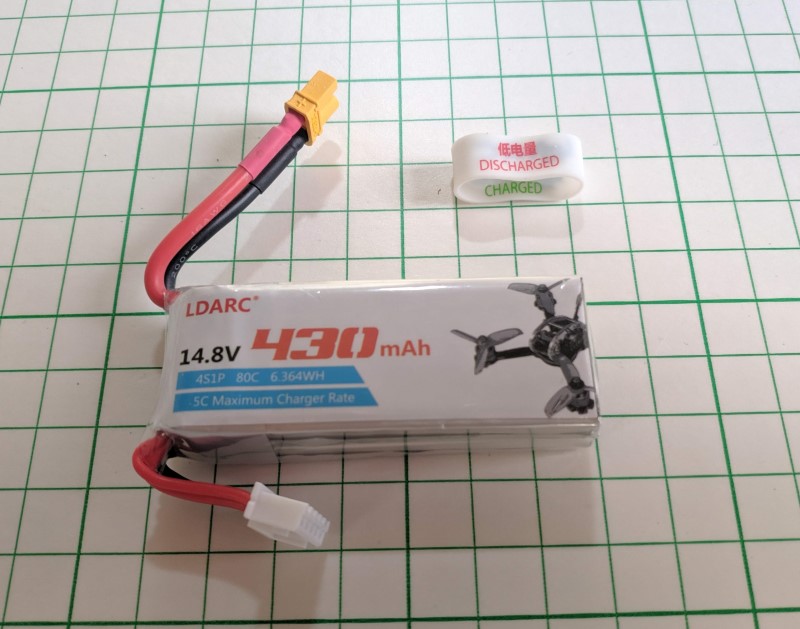
続いて付属のバッテリー。4Sの430mAhです。一応80Cの表記があります。ふつうこのサイズなら1500円位のお値段はしますのでお得なのか?
その上はゴムバンドで、使用後か使用前か分かるようにひっくり返してバッテリーを挟むようになっています。
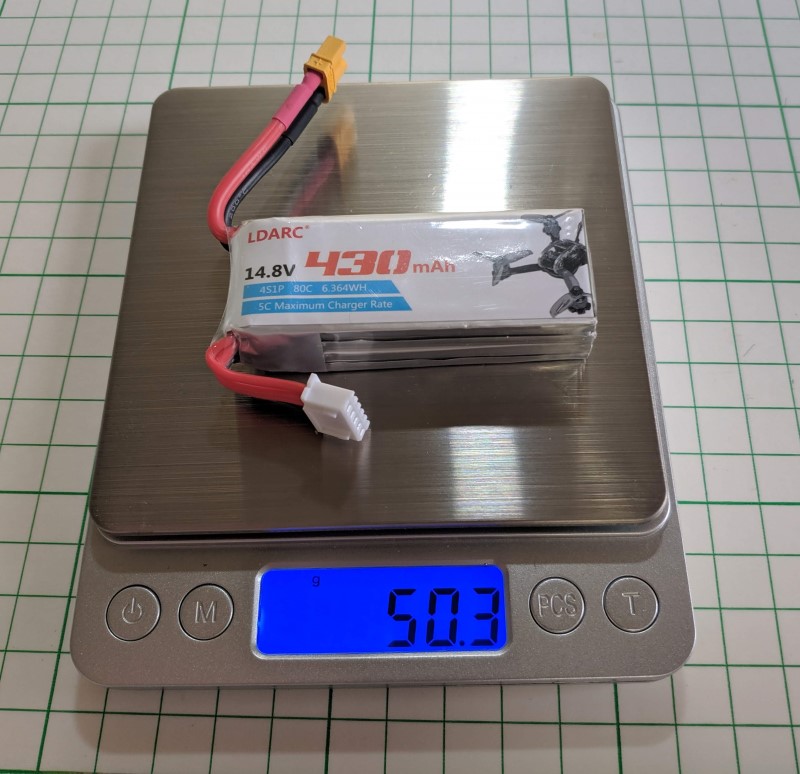
バッテリーの重量は50.3g
機体も計ってみましょう。61.6gでした。(ノーマルバージョン)
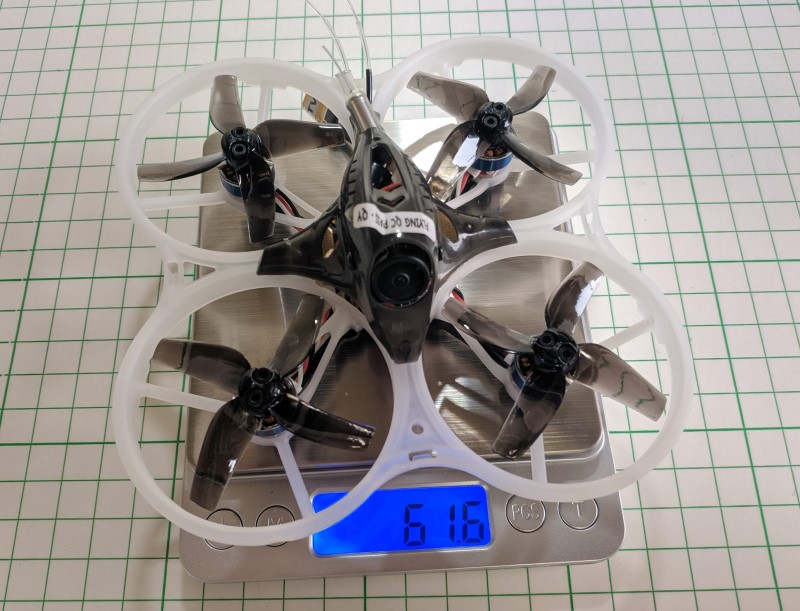
では機体をぐるっと見てみましょう。
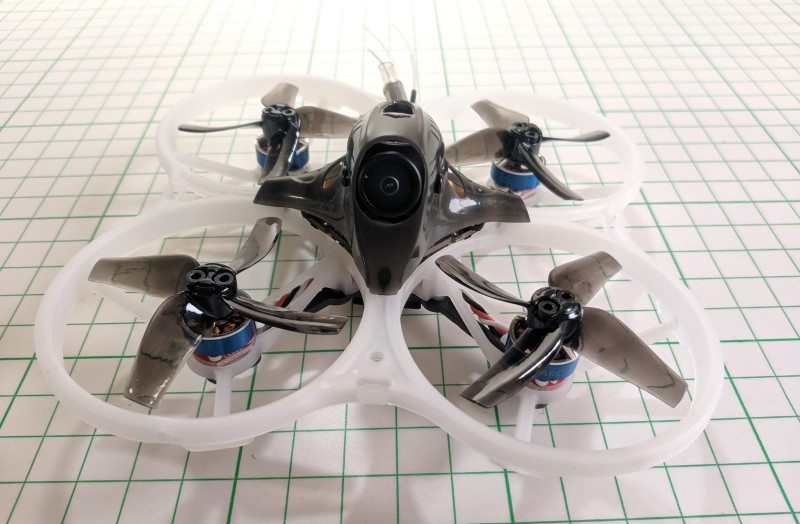
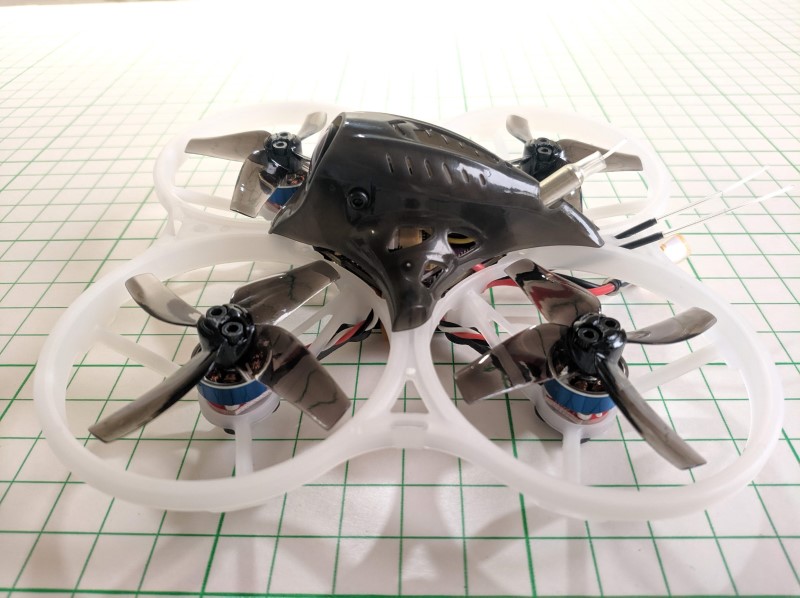
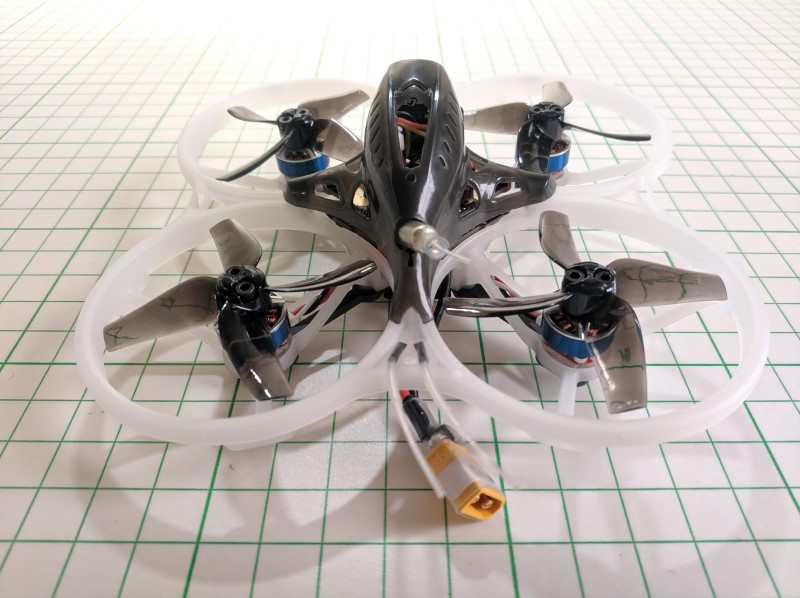
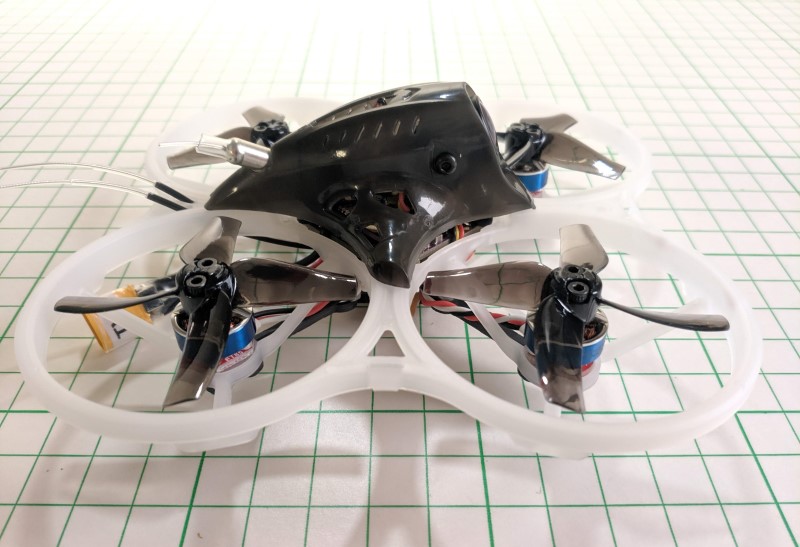
上からも。
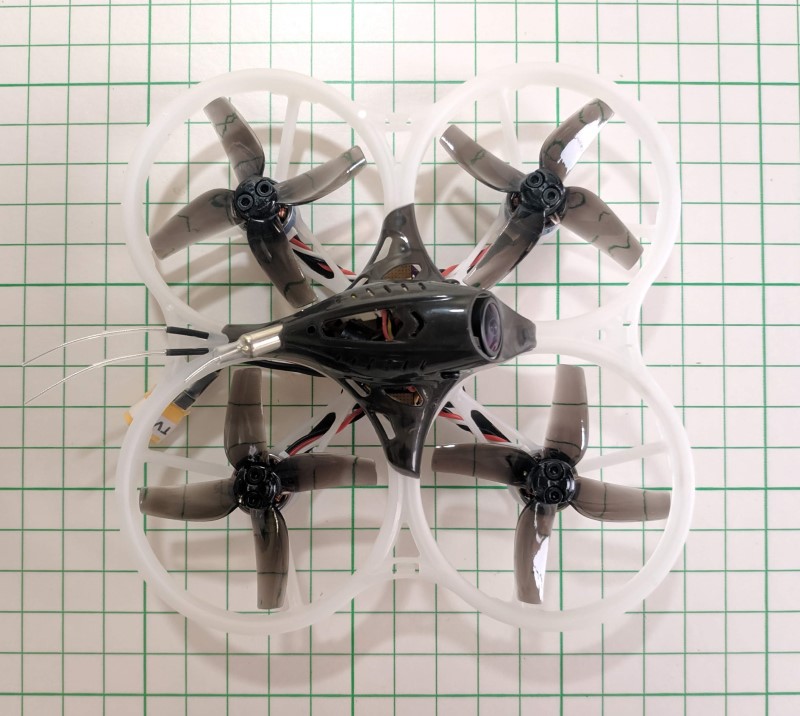
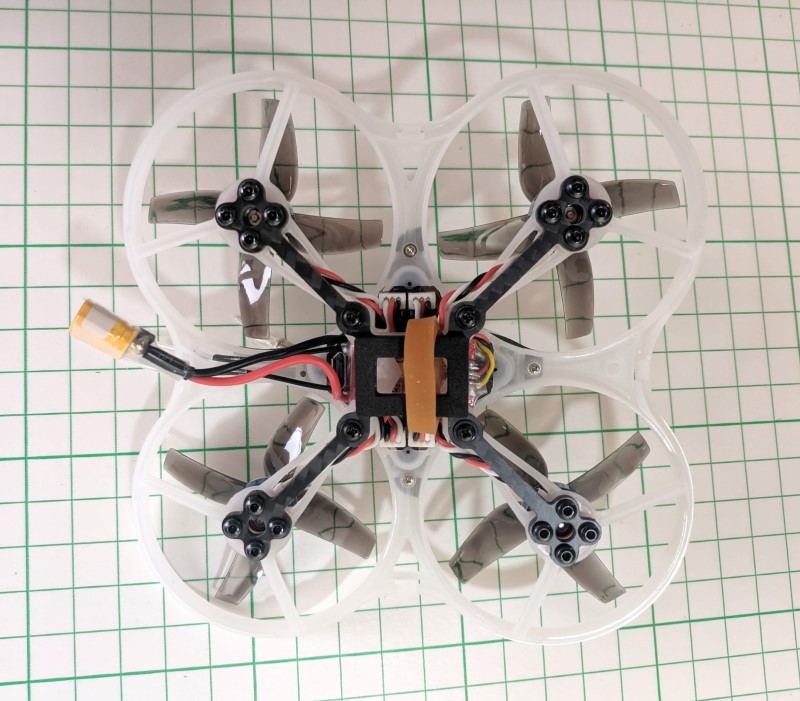
裏も。本体がダクト一体構造で補強のためにカーボンフレームが付いているって感じですね。すでにバッテリー用のクッションスポンジが付いています。そして極太いゴムバントと・・
モーターは1103の6500KV
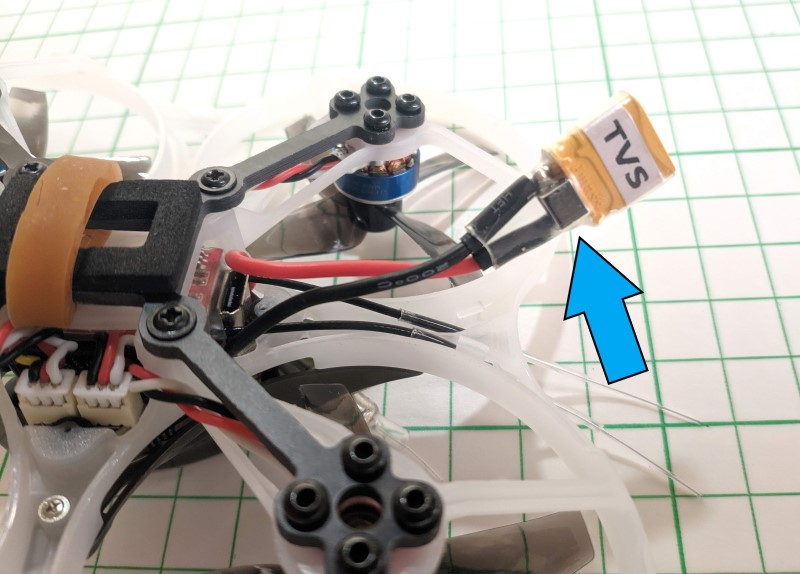
ピグテールの付いているキャパシタがなんか小ぶりの種類の違うものが・・・これなんて言うタイプですかね?積層セラミックコンデンサ?
キャノピーを外してみます。キャノピー側に Runcam Nano 2 カメラとVTXが固定されています。
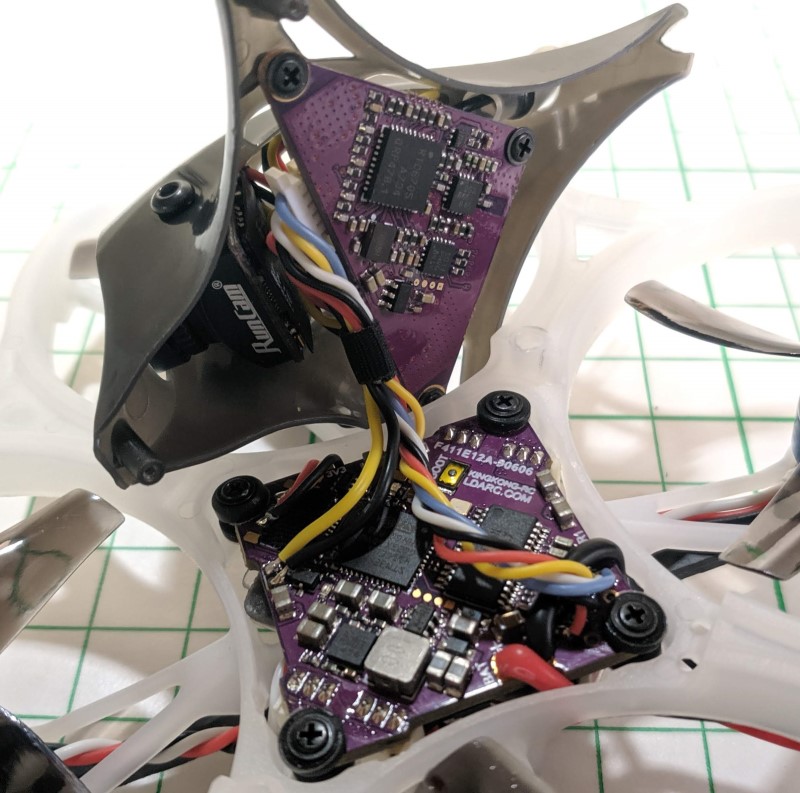
VTXも外してみると、ブザーが現れました。取付済みですw

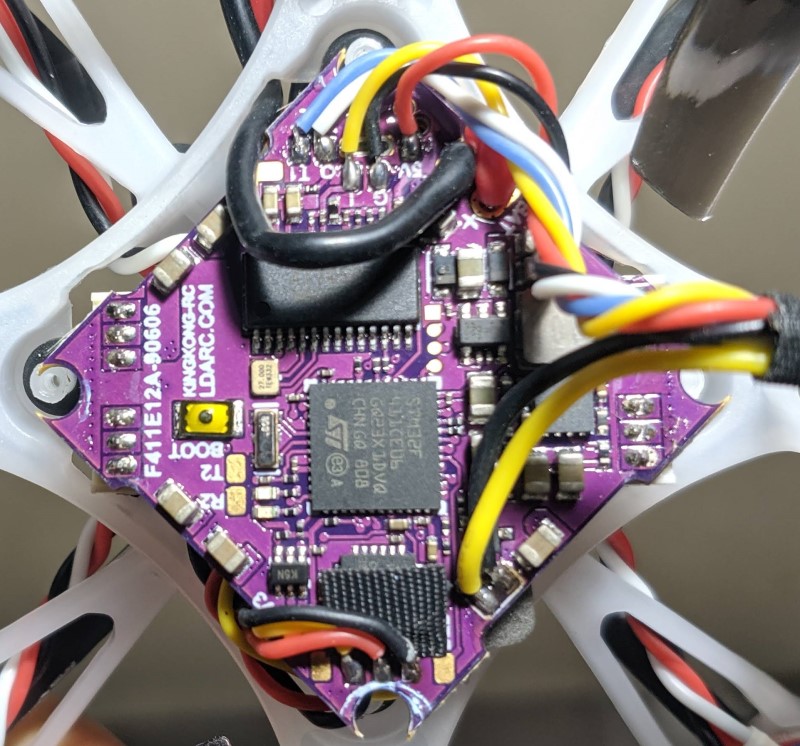
FCを見てみると、左側がレシーバーの配線で、右側がVTXとブザーです。
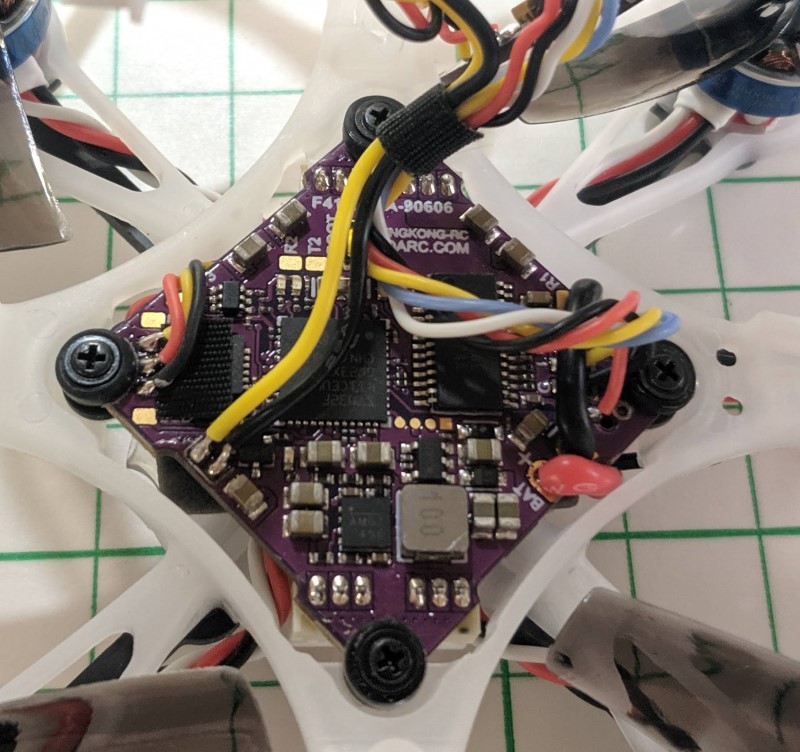
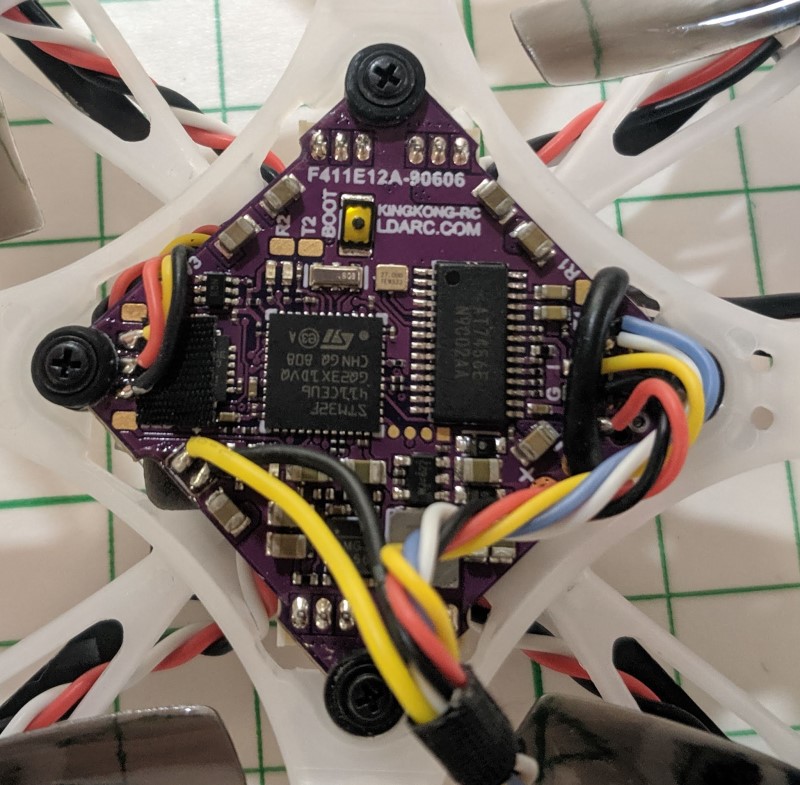
VTX側の配線。
Runcam Nano 2 とキャノピー
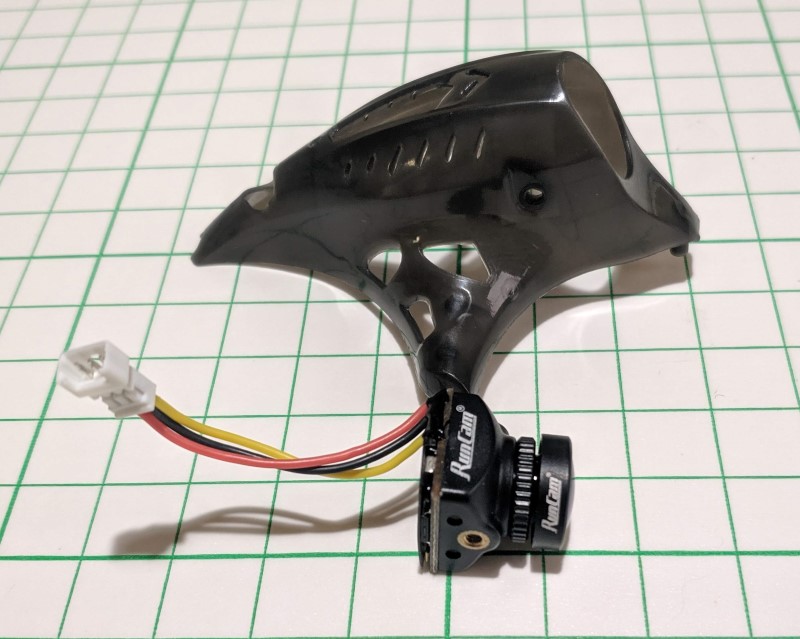
今回は外付けのレシーバーも接続済みでブザーも搭載済みなのでバラして何かするような必要はありませんね。
レシーバーのアンテナが2本むき出しで同じ方向に出ているだけなので、1本だけ90度向きを変えて熱収縮チューブでくるみました。フレームの穴に通したので特に固定する必要もなさそうです。
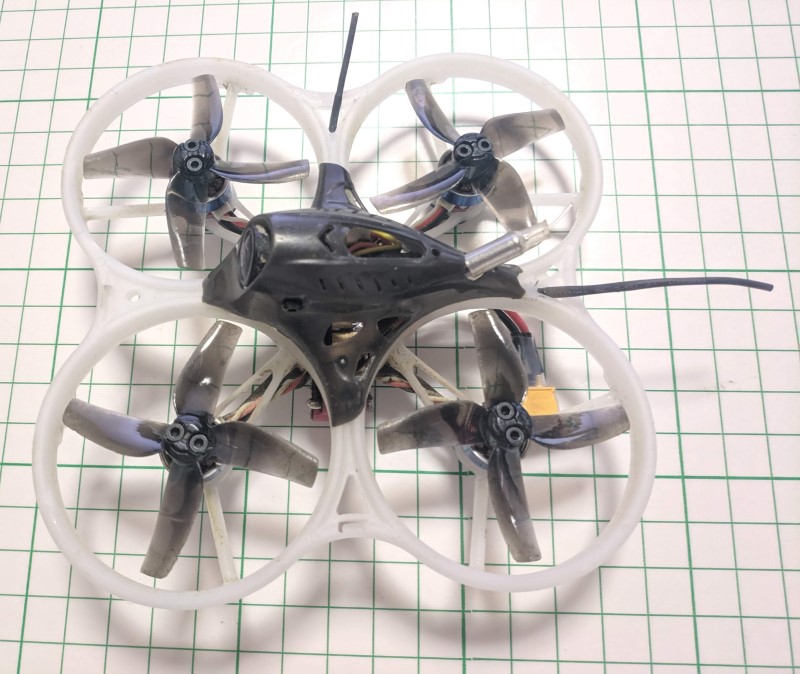
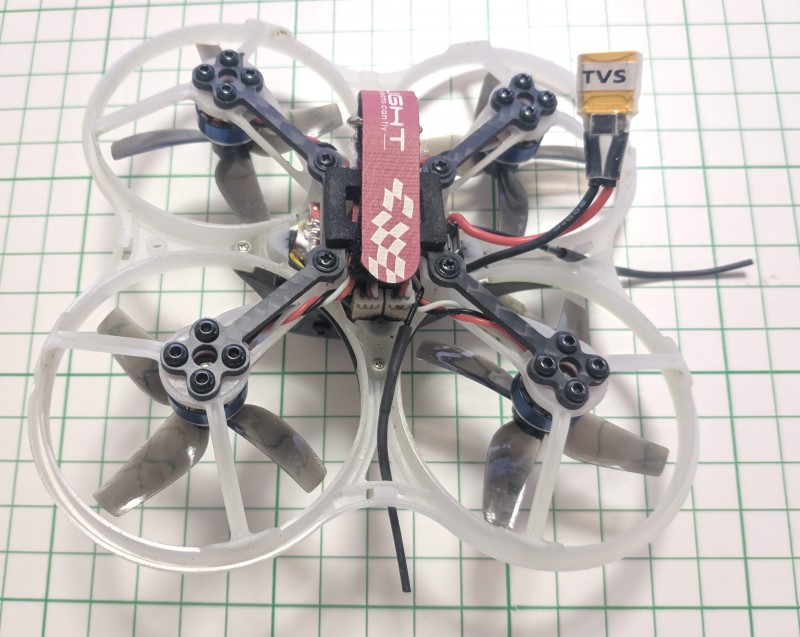
また、バッテリー固定用のゴムバンドがあまりにもきつくて扱いにくいので手持ちのストラップに交換しました。幅10mm長さ100mmの物です。
あ、冒頭に出てきたLEDストリップですけど、FCに接続するものではないです。バッテリーから給電するものなのでFCからコントロールできません。試しに4Sに繋いでみたらすごく明るいグリーンでした。屋内レースではすごく目立ちそうですw 今回は装着は見送りしました。
ザっと見てきましたがバッテリーやプロペラが多数など同梱品が多くて当面遊べそうですね。ダクト機なのでプロペラ全部使い切るまでに何回もクラッシュできますよw
次回は設定内容等を確認していきたいと思います。
なお、3S仕様のもう少し小型の75mm機 ET75 もあります。

